Exness is a globally recognized forex and CFD broker, trusted by millions of traders for its user-friendly platform, tight spreads, and fast withdrawals. If you’re ready to start trading, follow this easy guide to open your Exness account in just minutes.
Why Choose Exness?
Before diving into the steps, here’s why Exness stands out:
- Zero commission on most accounts.
- Instant withdrawals with no hidden fees.
- Regulated by top authorities like FCA and CySEC.
- Beginner-friendly with demo accounts and educational tools.
How to Open an Exness Account
Step 1: Click the “Open Exness Account” button below
Tip: After accessing, you can change the language in the top right corner.
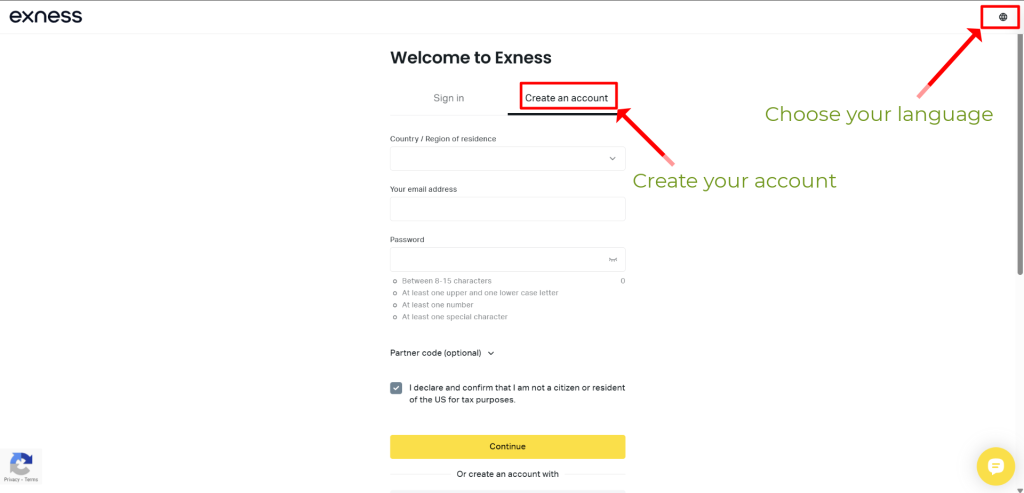
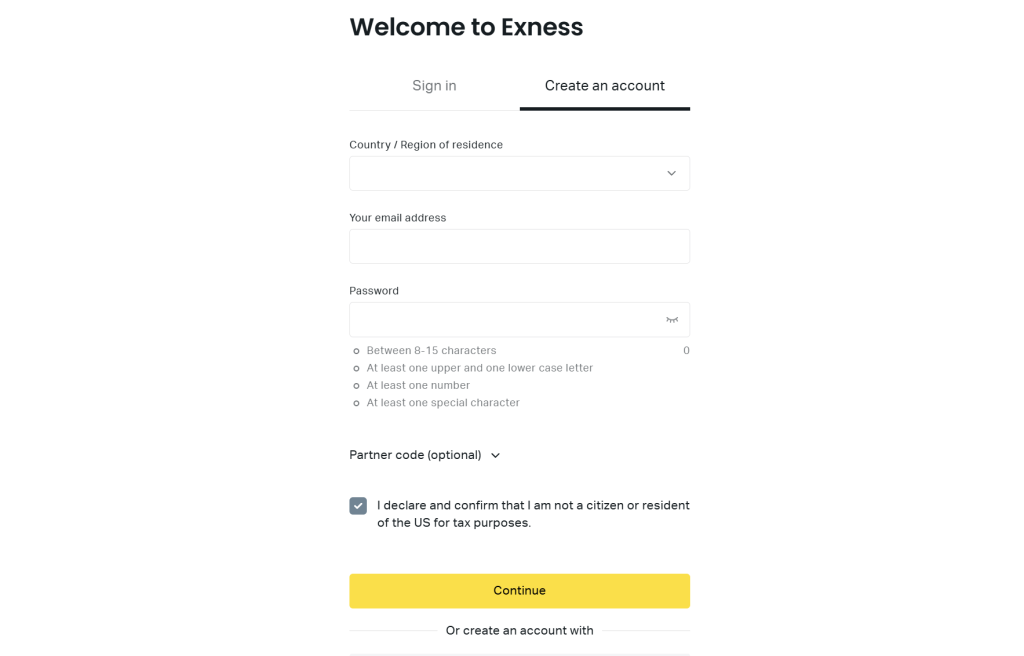
Step 2: Fill in Your Details
You’ll see a registration form. Enter:
- Country of residence.
- Email address (use an active email for verification).
- Password (create a strong password).
Check the box to agree to Exness’ terms, then click “Continue”.
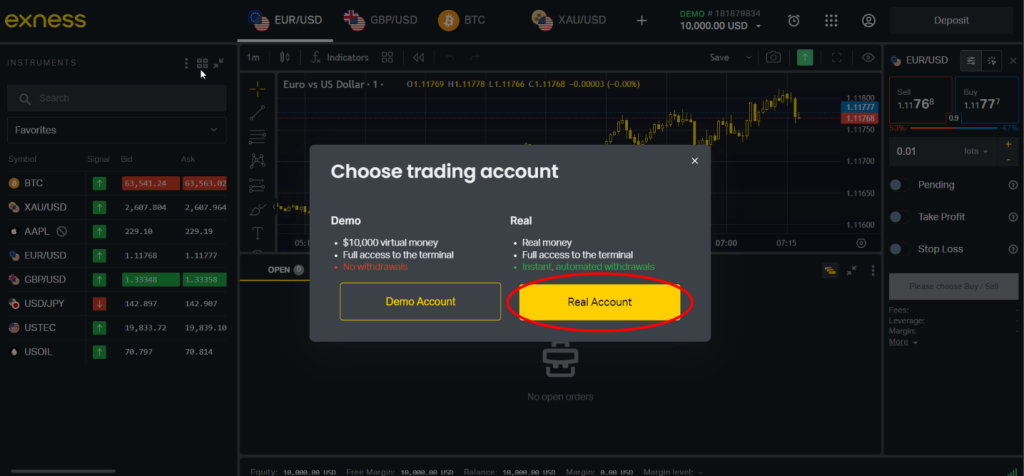
Step 3: Choose trading account
Here, we have two options: “Demo account” and “Real account“
In the “Demo account“, you can try trading on the platform with a virtual currency of $10,000.
The “Real account” allows you to trade with real money, make instant, and automated withdrawals.
I choose to open a “Real account“
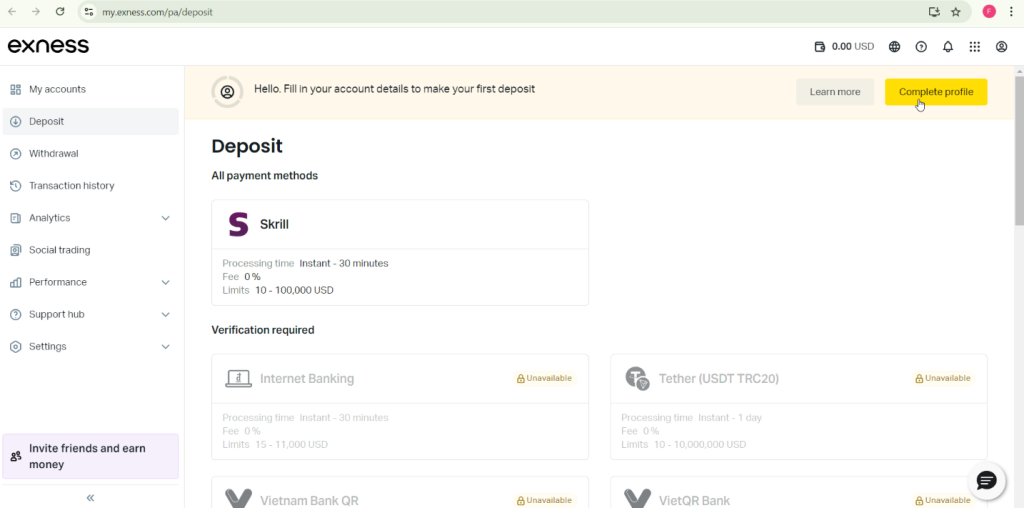
You need to “Fill in your account details to make your first deposit“.
Click “Complete profile” to proceed
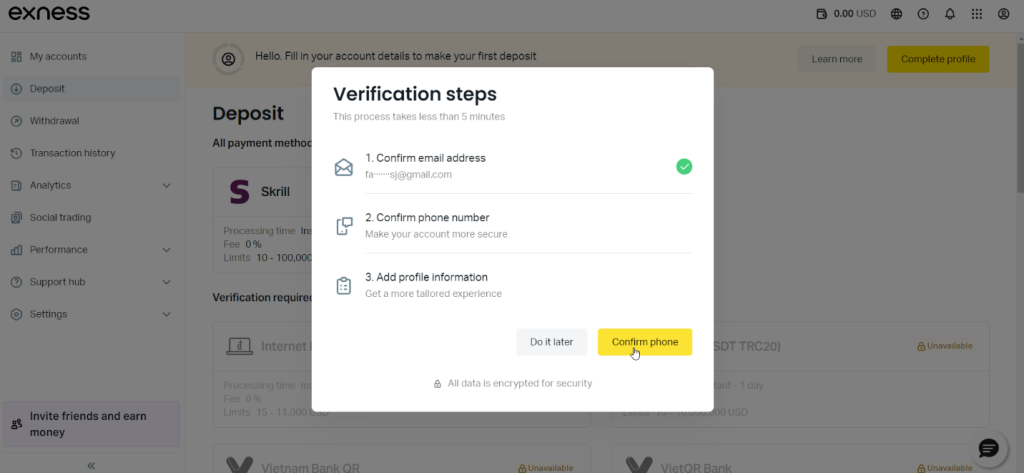
Step 4: Verification
The verification steps include: “Confirm email address“, “Confirm phone number“, and “Add profile information“
Click “Get started now“

Exness will send a confirmation link to your email. Enter this code to verify your email.

Then, click “Confirm phone” to continue next step
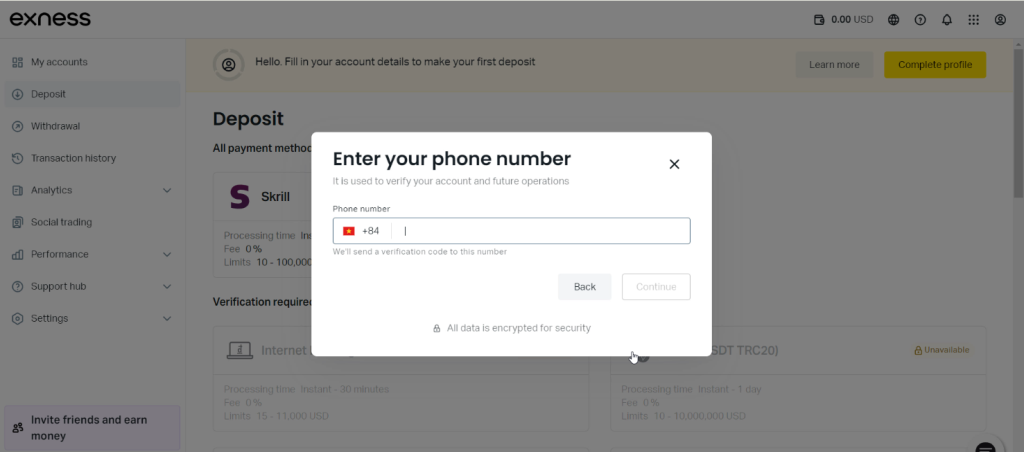
Enter your phone number and click “Continue”
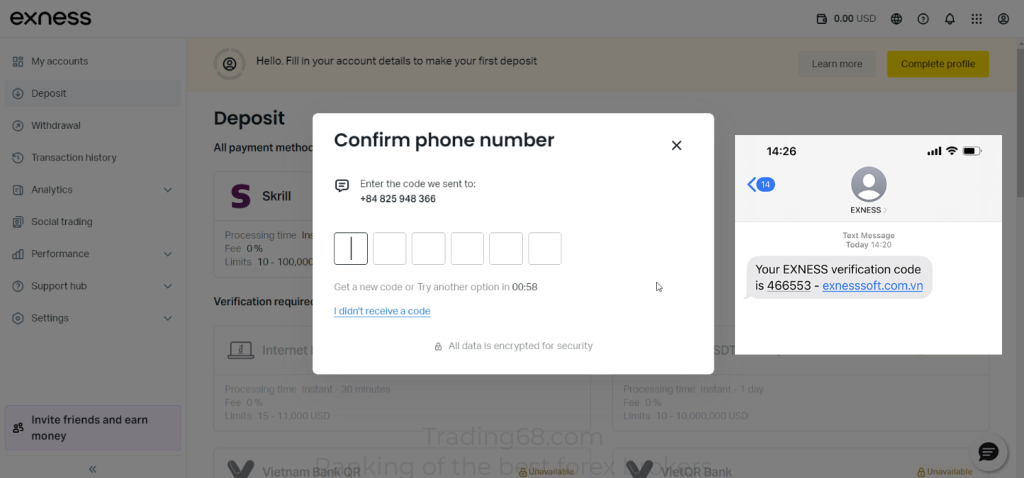
Enter the OTP sent via SMS.
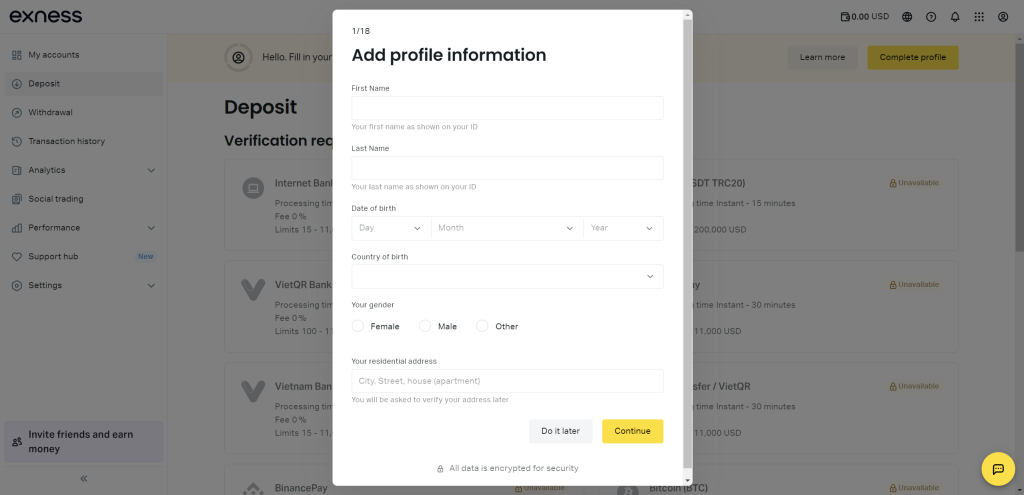
Next, you need to “Add profile information“. Click “Complete now“
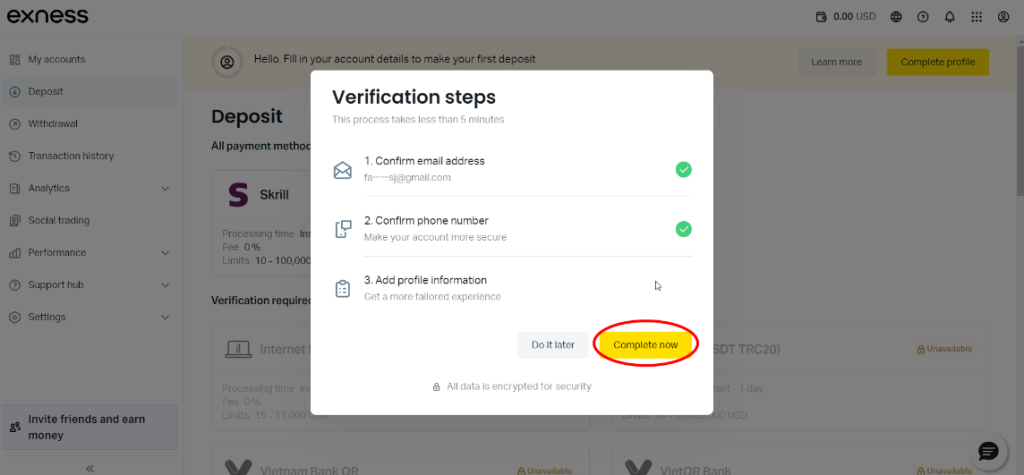
Please fill in your “First” and “Last name”, “Date of Birth”, “Residential address”, and “Gender”
After filling, click “Continue“
Let’s move on to the next section.
This is just additional information, so it is not very important and will not affect your future transactions.
You can quickly answer this section.

Step 5: Submit ID for Verification
Click the “Verify Identity now” button to start, the system will display your name taken from the previously entered information.

To comply with regulations, Exness requires identity verification. Upload:
- Government-issued ID: Passport, driver’s license, or national ID.
- Proof of address: Utility bill or bank statement (not older than 3 months).
Tip: Ensure documents are clear and unedited. Approval usually takes 1–24 hours.
Step 6: Choose Your Account Type
Exness offers multiple account types:
- Standard Account: Ideal for beginners, no commission.
- Pro Account: Lower spreads for advanced traders.
- Demo Account: Practice risk-free with virtual funds.
If you want to Open a new account go to “My accounts” and click “Open new account”.

Step 7: Fund Your Account
Navigate to “Deposit”, pick a payment method (credit/debit card, e-wallets like Skrill, cryptocurrencies, …), enter the amount, and confirm.
Minimum deposit: Starts as low as $10.

Step 8: Start Trading!
Download the Exness trading platform (MetaTrader 4/5 or the Exness Terminal) and begin trading forex, stocks, or cryptocurrencies.

FAQs
Q: How long does verification take?
A: Typically under 24 hours if documents meet requirements.
Q: Can I use Exness without verification?
A: No. Verification is mandatory for security and regulatory compliance.
Q: Is Exness safe?
A: Yes. Exness is regulated by top-tier authorities and uses SSL encryption.
Conclusion
Opening an Exness account is quick, secure, and hassle-free. By following these steps, you’ll be ready to trade in under 10 minutes. Whether you’re a newbie or a pro, Exness offers the tools and flexibility to suit your trading goals.
Ready to begin? Sign up for Exness now


